前面讲到用wireguard远程连接家里的的windows系统,如果还想增加一台linux呢。本节将讲如何新增一台linux系统,并实现科学上网。
尝试了clash,v2ray,v2rayA等,最终选择了v2rayA,v2rayA基于v2ray core,支持多种终端,还可以web端进行图形化配置,对linux来说非常友好,并且可以一键订阅机场。
linux安装
先下载debian12的镜像,下载地址:https://cdimage.debian.org/debian-cd/current/amd64/iso-cd/
也可以用国内镜像源:https://mirrors.ustc.edu.cn/ ,点击“获取安装镜像” 选择debian12.7

下载完镜像用虚拟机装好就行。
安装wireguard
安装wireguard后,我们就能进行远程配置服务器了。
apt update
apt install wireguard

cd /etc/wireguard/
wg genkey | tee privatekey | wg pubkey > publickey将生成的公钥配置到wireguard服务器上,将客户端配置好后,就能远程访问了。详细配置方法参考手把手教你用wireguard远程连接家里的电脑
将wireguard加入启动服务器
vim /etc/systemd/system/wg-quick-wg0.service[Unit]
Description=WireGuard via wg-quick(8) for wg0
After=network-online.target nss-lookup.target
Wants=network-online.target nss-lookup.target
[Service]
Type=oneshot
RemainAfterExit=yes
ExecStart=/usr/bin/wg-quick up /etc/wireguard/wg0.conf
ExecStop=/usr/bin/wg-quick down /etc/wireguard/wg0.conf
[Install]
WantedBy=multi-user.targetsystemctl daemon-reload
systemctl enable wg-quick-wg0.service
systemctl start wg-quick-wg0.service安装v2ray
装好系统第一部就是要解决科学上网的问题,不然连系统更新都费劲。
以debian12为例,安装v2ray作为科学上网工具。访问https://github.com/v2fly/v2ray-core/releases/,下载v2ray-linux-64.zip。如果不能直接在虚拟机linux里面下载,就在有代理的电脑上下载好再用ssh传上去。
mkdir v2ray

cd v2ray

wget https://github.com/v2fly/v2ray-core/releases/download/v5.18.0/v2ray-linux-64.zip

unzip v2ray-linux-64.zip

cp v2ray /usr/bin/

cd ../

mv v2ray /usr/share/访问https://github.com/v2rayA/v2rayA,下载
wget https://github.com/v2rayA/v2rayA/releases/download/v2.2.5.8/installer_debian_x64_2.2.5.8.deb

dpkg -i installer_debian_x64_2.2.5.8.deb
将v2rayA加入systemd开机启动
vi /etc/systemd/system/v2raya.service
[Unit]
Description=v2rayA Service
Documentation=https://github.com/v2rayA/v2rayA/wiki
After=network.target nss-lookup.target
[Service]
User=root
ExecStart=/usr/bin/v2raya
Restart=on-failure
RestartPreventExitStatus=23
[Install]
WantedBy=multi-user.target
重新加载systemd
systemctl daemon-reload开机启动
systemctl enable v2raya启动v2raya
systemctl start v2raya启动后可以通过如下命令看日志
journalctl -u v2raya -f获取到配置页面地址如下图中的链接

配置v2ray
浏览器远程访问上面的链接地址,创建账号
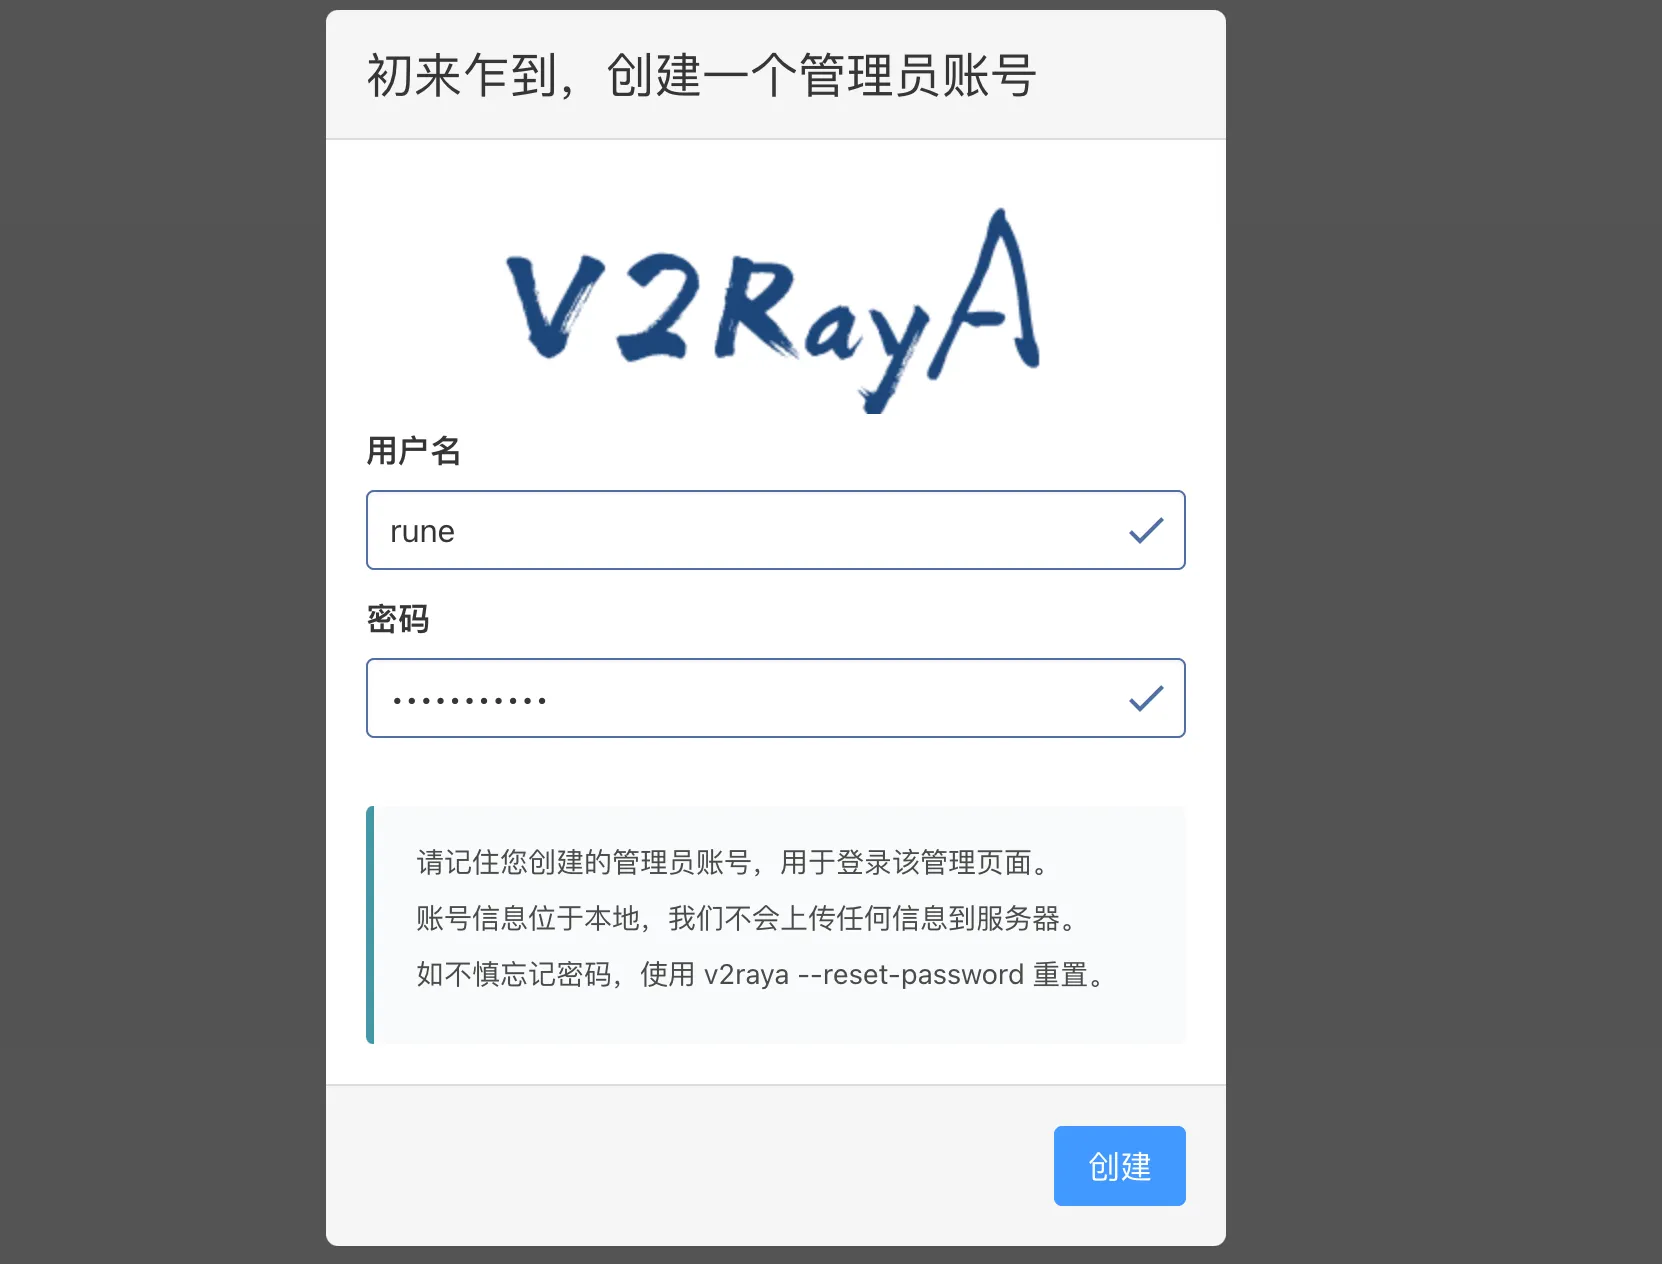
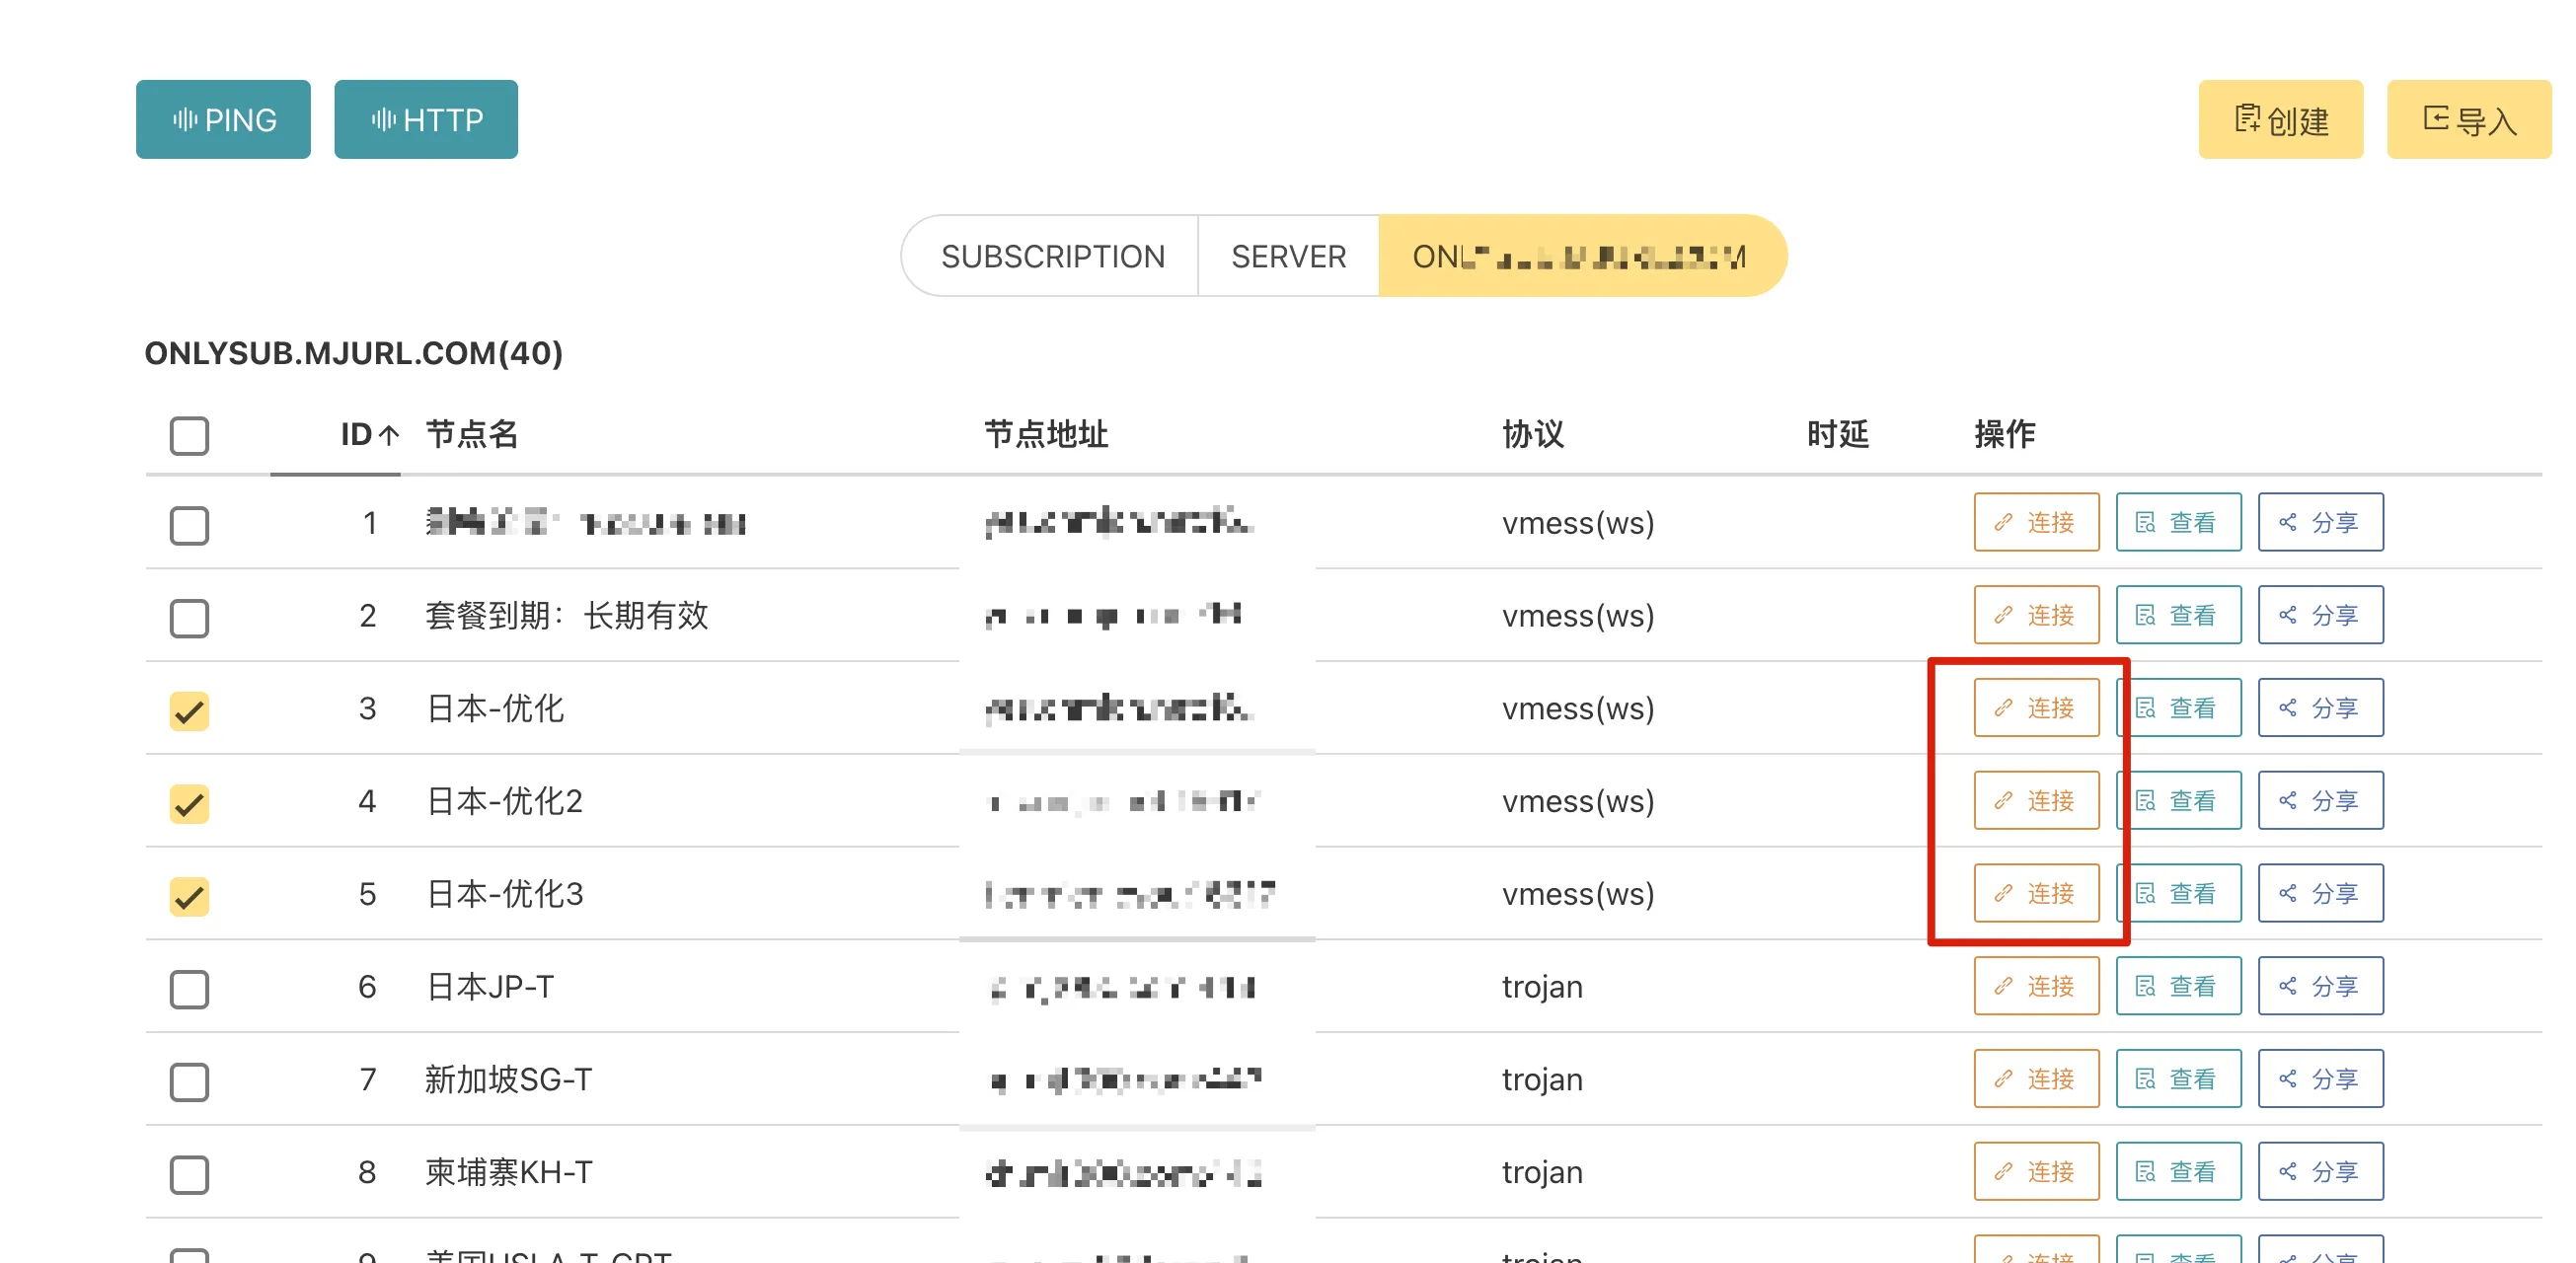
然后直接导入订阅链接即可完成订阅。
接着选中几个节点,点击连接
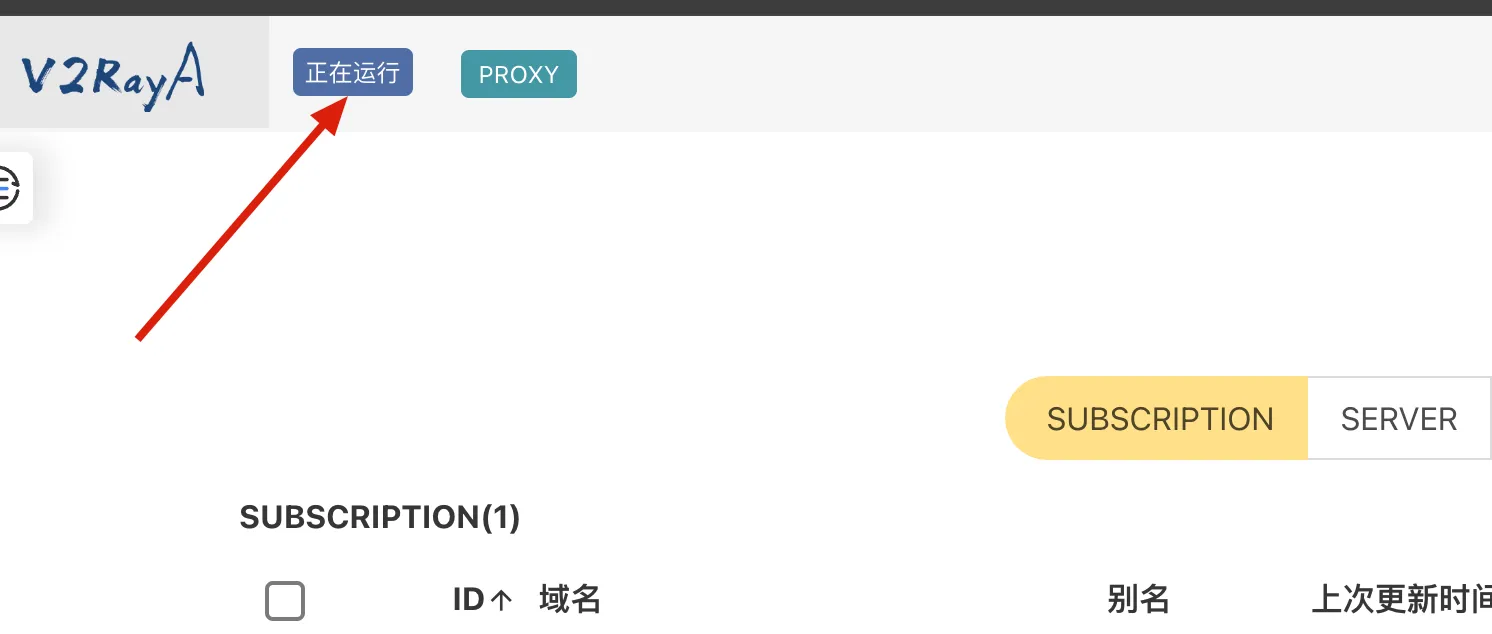
最好点击启动,显示正在运行表示成功
接着点击 设置 —> 地址与端口,获取到socks5和http端口
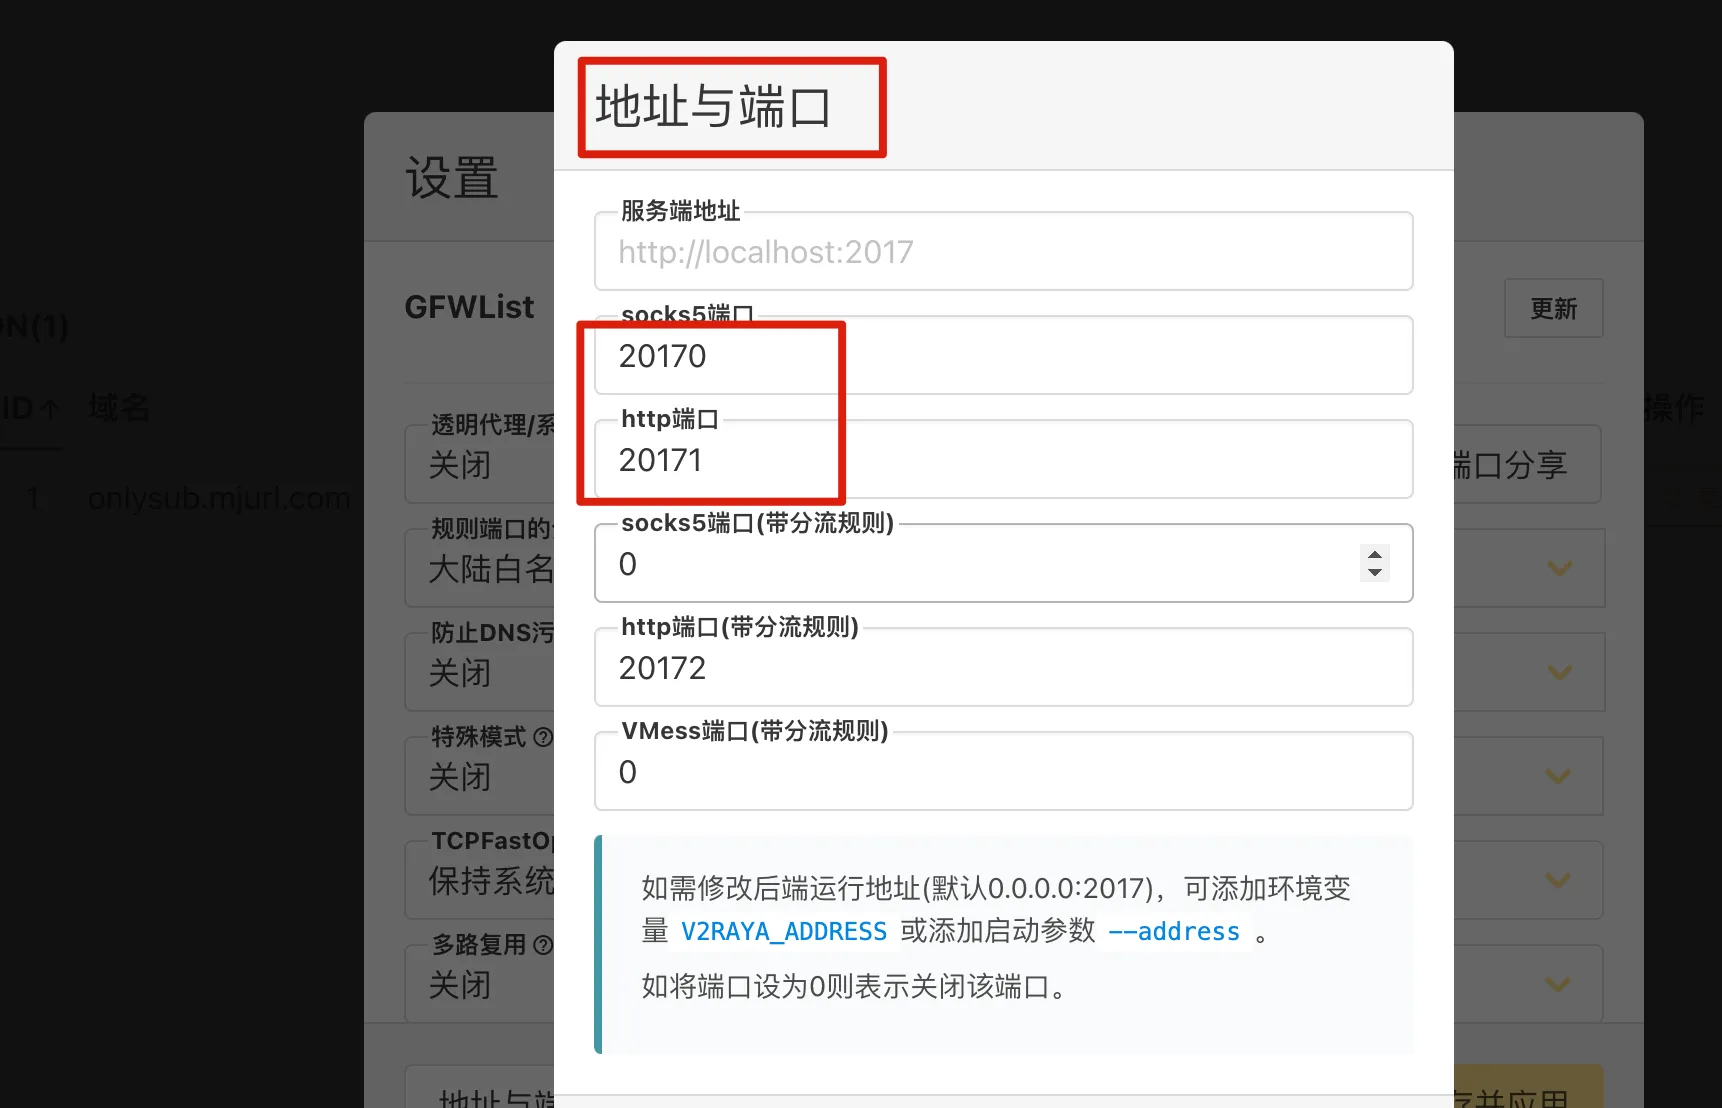
最后在环境变量里配置代理如下代理
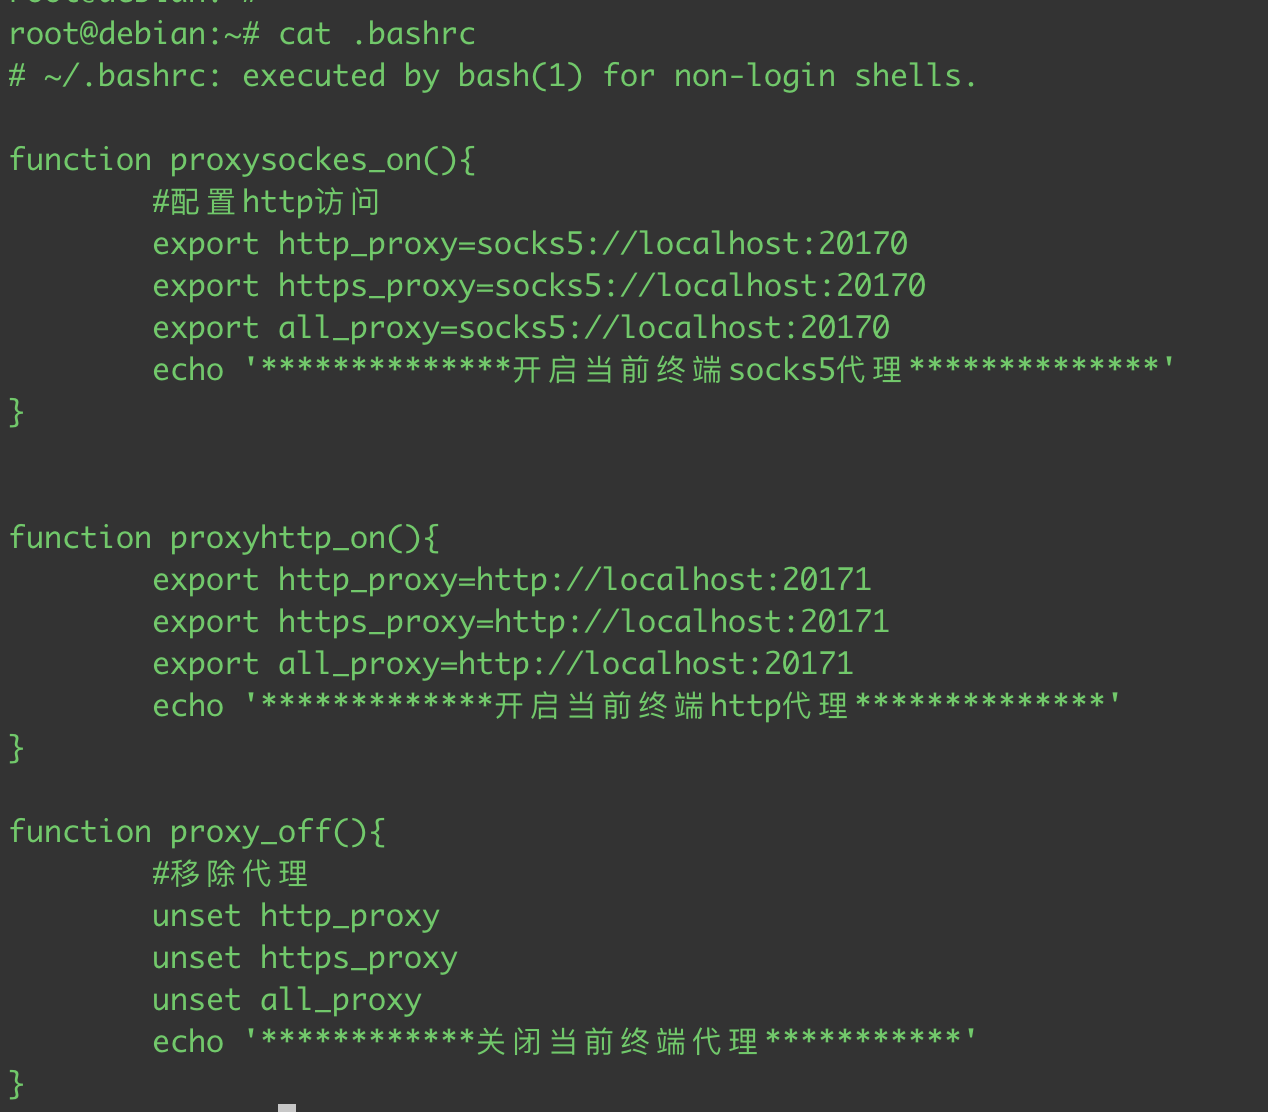
function proxysockes_on(){
	#配置http访问
	export http_proxy=socks5://localhost:20170
	export https_proxy=socks5://localhost:20170
	export all_proxy=socks5://localhost:20170
	echo '**************开启当前终端socks5代理**************'
}


function proxyhttp_on(){
	export http_proxy=http://localhost:20171
	export https_proxy=http://localhost:20171
	export all_proxy=http://localhost:20171
	echo '*************开启当前终端http代理**************'
}

function proxy_off(){
	#移除代理
	unset http_proxy
	unset https_proxy
	unset all_proxy
	echo '************关闭当前终端代理***********'
}
启动代理后,发现可以正常访问google.com了
proxysockes_on
proxyhttp_on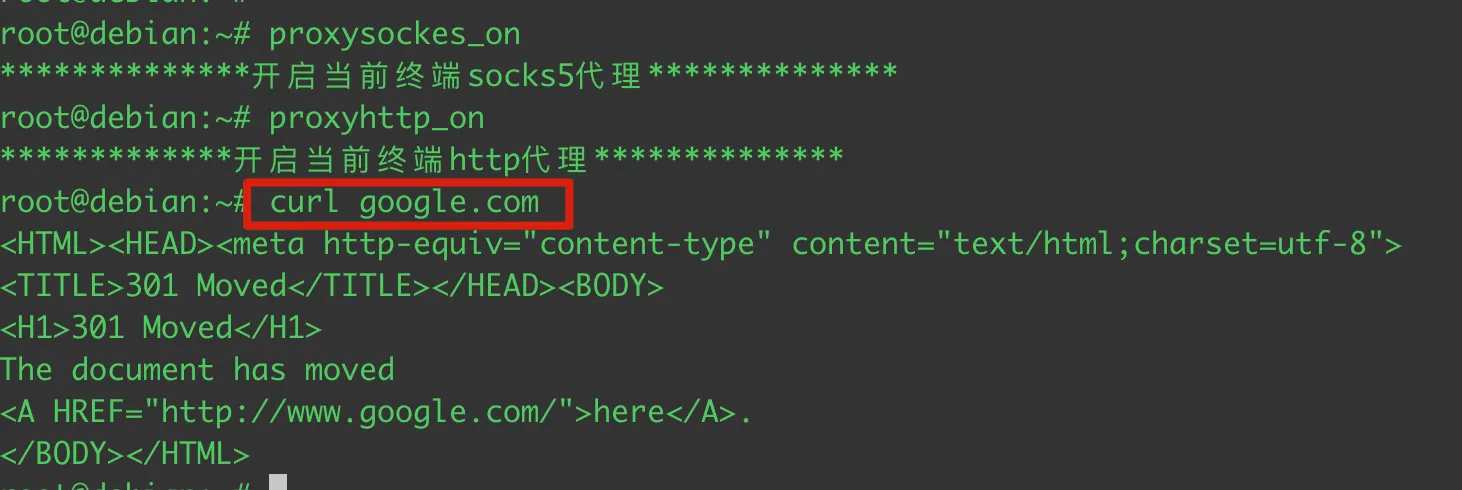
到这里代理就配置完成了
配置终端
为了让终端更加易用,我们做一个简单配置
安装zsh
apt install zsh
chsh -s /bin/zsh
安装oh-my-zsh
git clone https://github.com/robbyrussell/oh-my-zsh.git ~/.oh-my-zsh

cp ~/.oh-my-zsh/templates/zshrc.zsh-template ~/.zshrc配置完后,退出重新登陆进入zsh终端
zsh配置上方显示主机名
我们在使用终端的时候,多个标签页可能让你分不清哪个是哪个,如果让终端上方显示主机名就好区分了

vim ~/.zshrc
# Uncomment the following line to disable auto-setting terminal title.
DISABLE_AUTO_TITLE="true"

# set title
# uncomment DISABLE_AUTO_TITLE="true"
TERM_TITLE="\e]0;%n@%m\a"
precmd() {
    print -Pn "$TERM_TITLE"
}
# set title to running process
preexec () {
    print -Pn "\e]0;%n@%m [$3]\a"
}
个性化Promt

在.zshrc里配置,这种显示好处就是截图或者复制终端的结果比较好看
PROMPT='%{$fg_bold[red]%}[%n@%m %{$fg[red]%}%c]%(!.#.$)%{$reset_color%} '配置终端代理
最后我们还得再.zshrc文件里加上前面配置的代理
function proxysockes_on(){
	#配置http访问
	export http_proxy=socks5://localhost:20170
	export https_proxy=socks5://localhost:20170
	export all_proxy=socks5://localhost:20170
	echo '**************开启当前终端socks5代理**************'
}


function proxyhttp_on(){
	export http_proxy=http://localhost:20171
	export https_proxy=http://localhost:20171
	export all_proxy=http://localhost:20171
	echo '*************开启当前终端http代理**************'
}

function proxy_off(){
	#移除代理
	unset http_proxy
	unset https_proxy
	unset all_proxy
	echo '************关闭当前终端代理***********'
}
zsh自动补全插件
git clone https://github.com/zsh-users/zsh-autosuggestions $ZSH_CUSTOM/plugins/zsh-autosuggestions加入插件列表vim ~/.zshrc
plugins=(git zsh-autosuggestions)source ~/.zshrc
ssh免密登录
最后再设置ssh的快速登录。
1. 本地生成密钥对
ssh-keygen -t ed25519ed25519比RSA安全且效率更高。
执行完成生成了两个文件:id_ed25519 和 id_ed25519.pub
id_ed25519文件存储的是私钥, id_ed25519.pub存储公钥。
2. 将公钥写入到服务器
我们需要将公钥id_ed25519.pub写入到服务端/root/.ssh/authorized_keys
这时候我们可以通过ssh root@ip直接登录而不需要输入密码了
3. 修改ssh config
为了不用记住服务端的IP,我们可以在本地的~/.ssh/config文件增加如下内容
Host debian-home
     HostName 10.0.8.14
     User root
     IdentityFile /Users/wenxi/.ssh/id_ed25519
这样我们执行如下命令就直接登录服务器了
ssh debian-home